Showing posts with label featured. Show all posts

Rainbow bee amigurumi pattern


Hello September! Autumn has arrived in some parts of the world while it's still sunny with rains in between here in South India. Not complaining though as I love bright days. I received lots of love for this rainbow bee that i posted on instagram and many have requested for the pattern. I'm finally done with the editing and here it is! Read below to know how to make these cuties.

Amigurumi Otter pattern.


Hello everyone! can you believe we are already halfway through the year? How's your year been so far? With lockdowns and online classes for kid, it's difficult to find time for crochet. Hoping for better days ahead. Meanwhile, enjoy this cute little otter pattern. 

Donut cat pattern


All you need is love.. and Donuts! I mean, who doesn't love donuts? Cute amigurumi foods are one of my favourite things to make. I've made Unicorn macaronPumkitty pieOctopus cupcake and Bunny macaron so far. Let's make a cute cat donut today.

Amigurumi chick free pattern.


Hello all! Spring has officially arrived in most parts of the world. Here's a super cute chick pattern to welcome spring. With Easter coming up soon, I think this little chick would make cute basket stuffers for little kids.

Amigurumi frog pattern


Frogs seems to be popular on internet these days. I've been seeing lots of cute frog illustrations and artworks on Instagram and Pinterest and wanted to make these frogs for quite some time. So today we'll see how to make an amigurumi frog. 

Among us amigurumi pattern


Have you guys played the new popular game called Among us? It's one of the most downloaded mobile game in the world for the last two months. I see many cute illustrations and fan art of Among us pop up in social medias and got me curious. I'm not much of a gamer, but I do love making the characters. So today's post is all about making this adorable Among us crewmates. Read below for instructions.

Pumkitty pie pattern

 
Pumpkin season is officially here! I always relate October with pumpkins and cozy weather. Being from a tropical region, we don't get to witness much of autumn in it's full glory. But we do enjoy the slight drop in temperature which is very hot and humid otherwise. Here's a cute little Pumkitty pie pattern for you guys to make this season more delightful.

Amigurumi Mexican doll pattern


I recently reached 15 k followers on Instagram and 500 sales on Etsy! Thank you so much for your constant support and encouragement. I started my crochet journey here as a blogger and i'm ever so thankful to my blogging friends for sticking with me all these years. Here's a small thank you gift from me to all you wonderful people out there who makes my amigurumi journey worthwhile!

Macrame inspired crochet rainbow!

There is a rainbow of hope at the end of every storm.
Who doesn't love rainbow, right? A rainbow is a symbol of hope for a better tomorrow. The world is facing a tough crisis right now and hope is much needed to get through this hard times. Let's make a crochet rainbow today to lift up our spirit and to remind ourselves that storms don't last forever. I'm sure gifting this mini rainbow to your loved ones will cheer them up too. Read below for instructions on how to make it.


Crochet flower bookmark.

" Reading gives us someplace to go when we have to stay where we are" - Mason Cooley

Amigurumi Baby Octopus


Hello everyone! how are you guys faring during this lock down period? Some days I'm super productive, some days I'm so lazy to do anything. I managed to make some baby Octopus for my little girl. It's the same pattern as my Octopus cupcake but with a little bow. It's super simple and doesn't require a lot of time. It's a beginner friendly project and i have included lots of step by step pictures in this post. Read below for instructions on how to make these adorable Octo babies.

Bunny Macaron free pattern.


Remember the Unicorn macaron amigurumi that i made few years back?. It was one of the most loved posts in my blog and thought i'd make a kawaii macaron series featuring cute animal macarons every month. With Easter coming up soon, I've decided on a bunny macaron this time. Like most of my projects, these bunny macarons are super quick to make and would make a great filler for little kids Easter basket. Read below for instructions.

Amigurumi Elephant pattern


EDIT: I have updated this elephant pattern with no-sew legs on my new website

                                          CHECK OUT THE NEW PATTERN HERE

Valentine's day is just two days away, so here's a little valentine's gift from me to you. This little elephant works up quickly so you can make and gift it to your loved ones for Valentine's day. Let's head to the tutorial.

Amigurumi Alpaca free pattern.


December is finally here! it's my most favourite time of the year. I should be making some crochet ornaments and gifts for Christmas but all i could think of is making alpacas! i suddenly had this insane urge to make them and still pondering over what colours should i make them next. This is a quick and easy project and make a great gift for alpaca/ Llama lovers. Read below for instructions.

Pastel pusheen Amigurumi pattern


Post update 27/01/2022:
There's an updated version of this pattern with clear instructions and little changes to the tail  over on my new blog
                                             CHECK OUT THE NEW PATTERN

Do you like cats? I'm not much of a cat person but they hands down take the lead when it comes to cuteness. It's hard not to love these fluffy little furballs with big adorable eyes. I really loved making this chubby cat that i couldn't stop at just one. Let's see how to make these adorable chubby cats.

Crochet Succulent free pattern

Do you love succulents? if yes, then this tutorial is just for you. You can adorn your home with these beautiful crochet succulents and make them in various sizes too.. More importantly, you don't have to water them and they won't die on you :) Read below for instructions.


Octopus Cupcake amigurumi pattern

     I've been smitten by cute amigurumi foods lately. Most of my amigurumis are animals and i rarely make food amigurumis. So this time, i wanted to incorporate food theme into my ami and came up with the idea of Octopus cupcake. Read below for instructions on how to make one.


Amigurumi bunny free pattern

Bunnies are so cute, fluffy and reminds me of Spring time and Easter. With Spring upon us and Easter less than a month away, it's the perfect time to make this cute little Amigurumi Bunny :) Hope you will enjoy making this Bunny as much as i did. Read below for instructions.


Materials needed:
  • Acrylic yarn in pink color ( i have used 4ply/ sport weight acrylic yarn and 2mm crochet hook)
  • Little bit of green yarn for the bow
  • Crochet hook (according to the size of your yarn)
  • Poly fiber fill
  • Tapestry needle
  • 5 mm safety eyes or flat back black beads for eyes
  • Black embroidery thread   
This pattern is written in US English terms and worked in continuous rounds unless stated otherwise


ch - chain
sc - single crochet
st - stitch
sl st - slip stitch
dc - double crochet
trc - treble crochet
dec - sc 
2 together
rep ** - repeat stitches between **

Head: 
Using pink color yarn,
R1: 6 sc in magic ring (6)  
R2: 2sc in each st (12)
R3:  *sc in next st, 2 sc in next st*, rep **(18)
R4: *sc in next 2 st, 2sc in next st*, rep ** (24) 
R5: *sc in next 3 st, 2sc in next st*, rep ** (30)
R6: *sc in next 4 st, 2sc in next st*, rep ** (36)

R7-11: sc in each stitch (36)

R12: *sc in next 4 st, 1 dec  in next st*, rep ** (30)
R13: *sc in next 3 st, 1 dec in next st*, rep** (24)
R14: *sc in next 2 st, 1 dec in next st*, rep** (18)
R15: *sc in next st, 1 dec in next st*, rep** (12)
Stuff firmly and Fasten off leaving a tail for sewing

If using safety eyes, insert them between R10 and R11 with 6 sts in between.


Ears: (Make 2)
R1: 6 sc in magic ring (6)
R2: 2sc in each st (12)
R3: *sc in next st, 2 sc in next*, rep** (18)
R4: *sc in next st, dec 1 in next st*, rep** (12)
R5:  sc around (12)
R6: sc in next 2 st, dec 1 in nxt st*, rep** (9)
R7-8: sc in each st (9)
Fasten off, leaving a tail for sewing.

Arms: (Make 2)
R1: 6 sc in magic ring (6)
R2-7: sc around (6)
Fasten off leaving a tail for sewing.


Legs and body: 
R1: 6 sc in magic ring (6)
R2: *sc in next 2 st, 2sc in next*, rep ** (8)
R3-4: sc in each st (8) 
Fasten off the first leg. 
Make another leg in the same way but do not cut off the yarn and chain 4, join it to the first leg.
R5: sc around the 8 sts of first leg, sc in next 4 ch, sc in next 8 sts of second leg and sc in next 4 ch (24)
R6-11: sc around (24)
Stuff the legs and the body as you go.
R12: *sc in next 6 st, dec 1 in next st*, rep ** (21)
R13: *sc in next 5 st, dec 1 in next st*, rep ** (18)
R14: *sc in next 4 st, dec 1 in next st*, rep ** (15)
R15: *sc in next 3 st, dec 1 in next st*, rep** (12)
Finish stuffing and fasten off leaving a tail for sewing.

Bow:
In Magic ring, *ch 3,dc,trc,dc, ch 3, slip stitch into the ring*, rep **


Assembling:
Attach the body to the head.
Attach ears on the head ( i have attached both ears at the side and nearby for a cute look)
Attach the arms to the body.
Sew on the bow to the head.
And your little Bunny is ready! 
Make them and gift it to your loved ones this Easter. Have a great day everyone :)


Amigurumi Pig pattern

Hello everyone! Wishing you all a very happy new year. I'm so thankful for all the blessings and the wonderful memories of last year. Let's hope it continues this year too. According to Chinese calendar, 2019 is considered as the year of pig. Pig symbolizes good fortune, wealth and prosperity. With Chinese new year fast approaching, here's a simple amigurumi pattern on how to make a cute little pig.


Materials needed:
  • Acrylic yarn in light and dark pink color ( i have used 4ply/ sport weight acrylic yarn and 3mm crochet hook)
  • Little bit of blue, yellow and green yarn for flower
  • Crochet hook ( according to the size of your yarn)
  • Poly fiber fill
  • Tapestry needle
  • 6 mm safety eyes or flat back black beads for eyes
  • A small amount of pink felt 
  • Black embroidery thread   
This pattern is written in US English terms and worked in continuous rounds unless stated otherwise


ch - chain
sc - single crochet
sl st - slip stitch
dc - double crochet
dec - sc 
2 together
rep ** - repeat stitches between **

Head: 
Using pink color yarn,
R1: 6 sc in magic ring (6)  
R2: 2sc in each st (12)
R3:  *sc in next st, 2 sc in next st*, rep **(18)
R4: *sc in next 2 st, 2sc in next st*, rep ** (24) 
R5: *sc in next 3 st, 2sc in next st*, rep ** (30)
R6: *sc in next 4 st, 2sc in next st*, rep ** (36)

R7-11: sc in each stitch (36)

R12: *sc in next 4 st, dec 1 in next st*, rep ** (30)
R13: *sc in next 3 st, 1 dec in next st*, rep** (24)
R14: *sc in next 2 st, 1 dec in next st*, rep** (18)
R15: *sc in next st, 1 dec in next st*, rep** (12)
Stuff firmly and Fasten off leaving a tail for sewing

If using safety eyes, insert them between R10 and R11


Ears: (Make 2)
R1: 6 sc in magic ring (6)
R2: *sc in next st, 2 sc in next st*, rep** (9)
R3: *sc in next 2 st, 2 sc in next st,* rep** (12)
R4: sc around (12)
Fasten off, leaving a tail for sewing.

Snout: with dark pink color yarn,
R1: 6 sc in magic ring (6)
R2: 2 sc in each st (12), fasten off leaving a tail for sewing. 
With black thread, embroider two vertical lines on the snout.

Arms: (Make 2)
R1: 6 sc in magic ring (6)
R2-7: sc around (6)
Fasten off leaving a tail for sewing.


Legs: make 2
R1: 6 sc in magic ring (6)
R2: *sc in next st, 2sc in next*, rep ** (9)
R3-5: sc in each st (9) 
Fasten off the first leg. 
Do not cut off the yarn on the second leg and chain 3 and join it to the first leg.
R6: sc around the 9 sts of first leg, sc in next 3 ch, sc in next 9 sts of second leg and sc in next 3 ch (24)
R7-12: sc around (24)
R13: *sc in next 6 st, dec 1 in next st*, rep ** (21)
R14: *sc in next 5 st, dec 1 in next st*, rep ** (18)
R15: *sc in next 4 st, dec 1 in next st*, rep ** (15)
R16: *sc in next 3 st, dec 1 in next st*, rep** (12)
Stuff firmly and fasten off leaving a tail for sewing

Tail:
ch 8, 2 sc in 2nd chain from hook, 2 sc in next 4 chain, sc in next 2 chain. Fasten off, leaving a long tail for sewing.

Flower:
with yellow yarn, 5 sc in magic ring and sl st to the first st
switch to blue color, *ch 1, 2 dc, ch 1 and sl st in the same st, and sl st to the next st*, rep ** 

Leaf: 
with green yarn, ch 5, *dc in 3rd ch from hook, hdc in next and sl st in last ch*, ch 5 again and rep **
and sew the leaf to the flower.


Assembling:
Attach the body to the head.
Attach ears on either side of the head.
Sew on the snout onto the lower middle portion of the head.
Attach the arms to the body.
Attach the tails at the back.
Sew on the flower to the head.
Cut a small heart shape from pink felt and glue it near the belly.
And your little pig is ready! 

Let this year bring you all happiness and prosperity! sending you good vibes for a fantastic year. Happy 2019! Lots of love :)


Amigurumi Narwhal free pattern

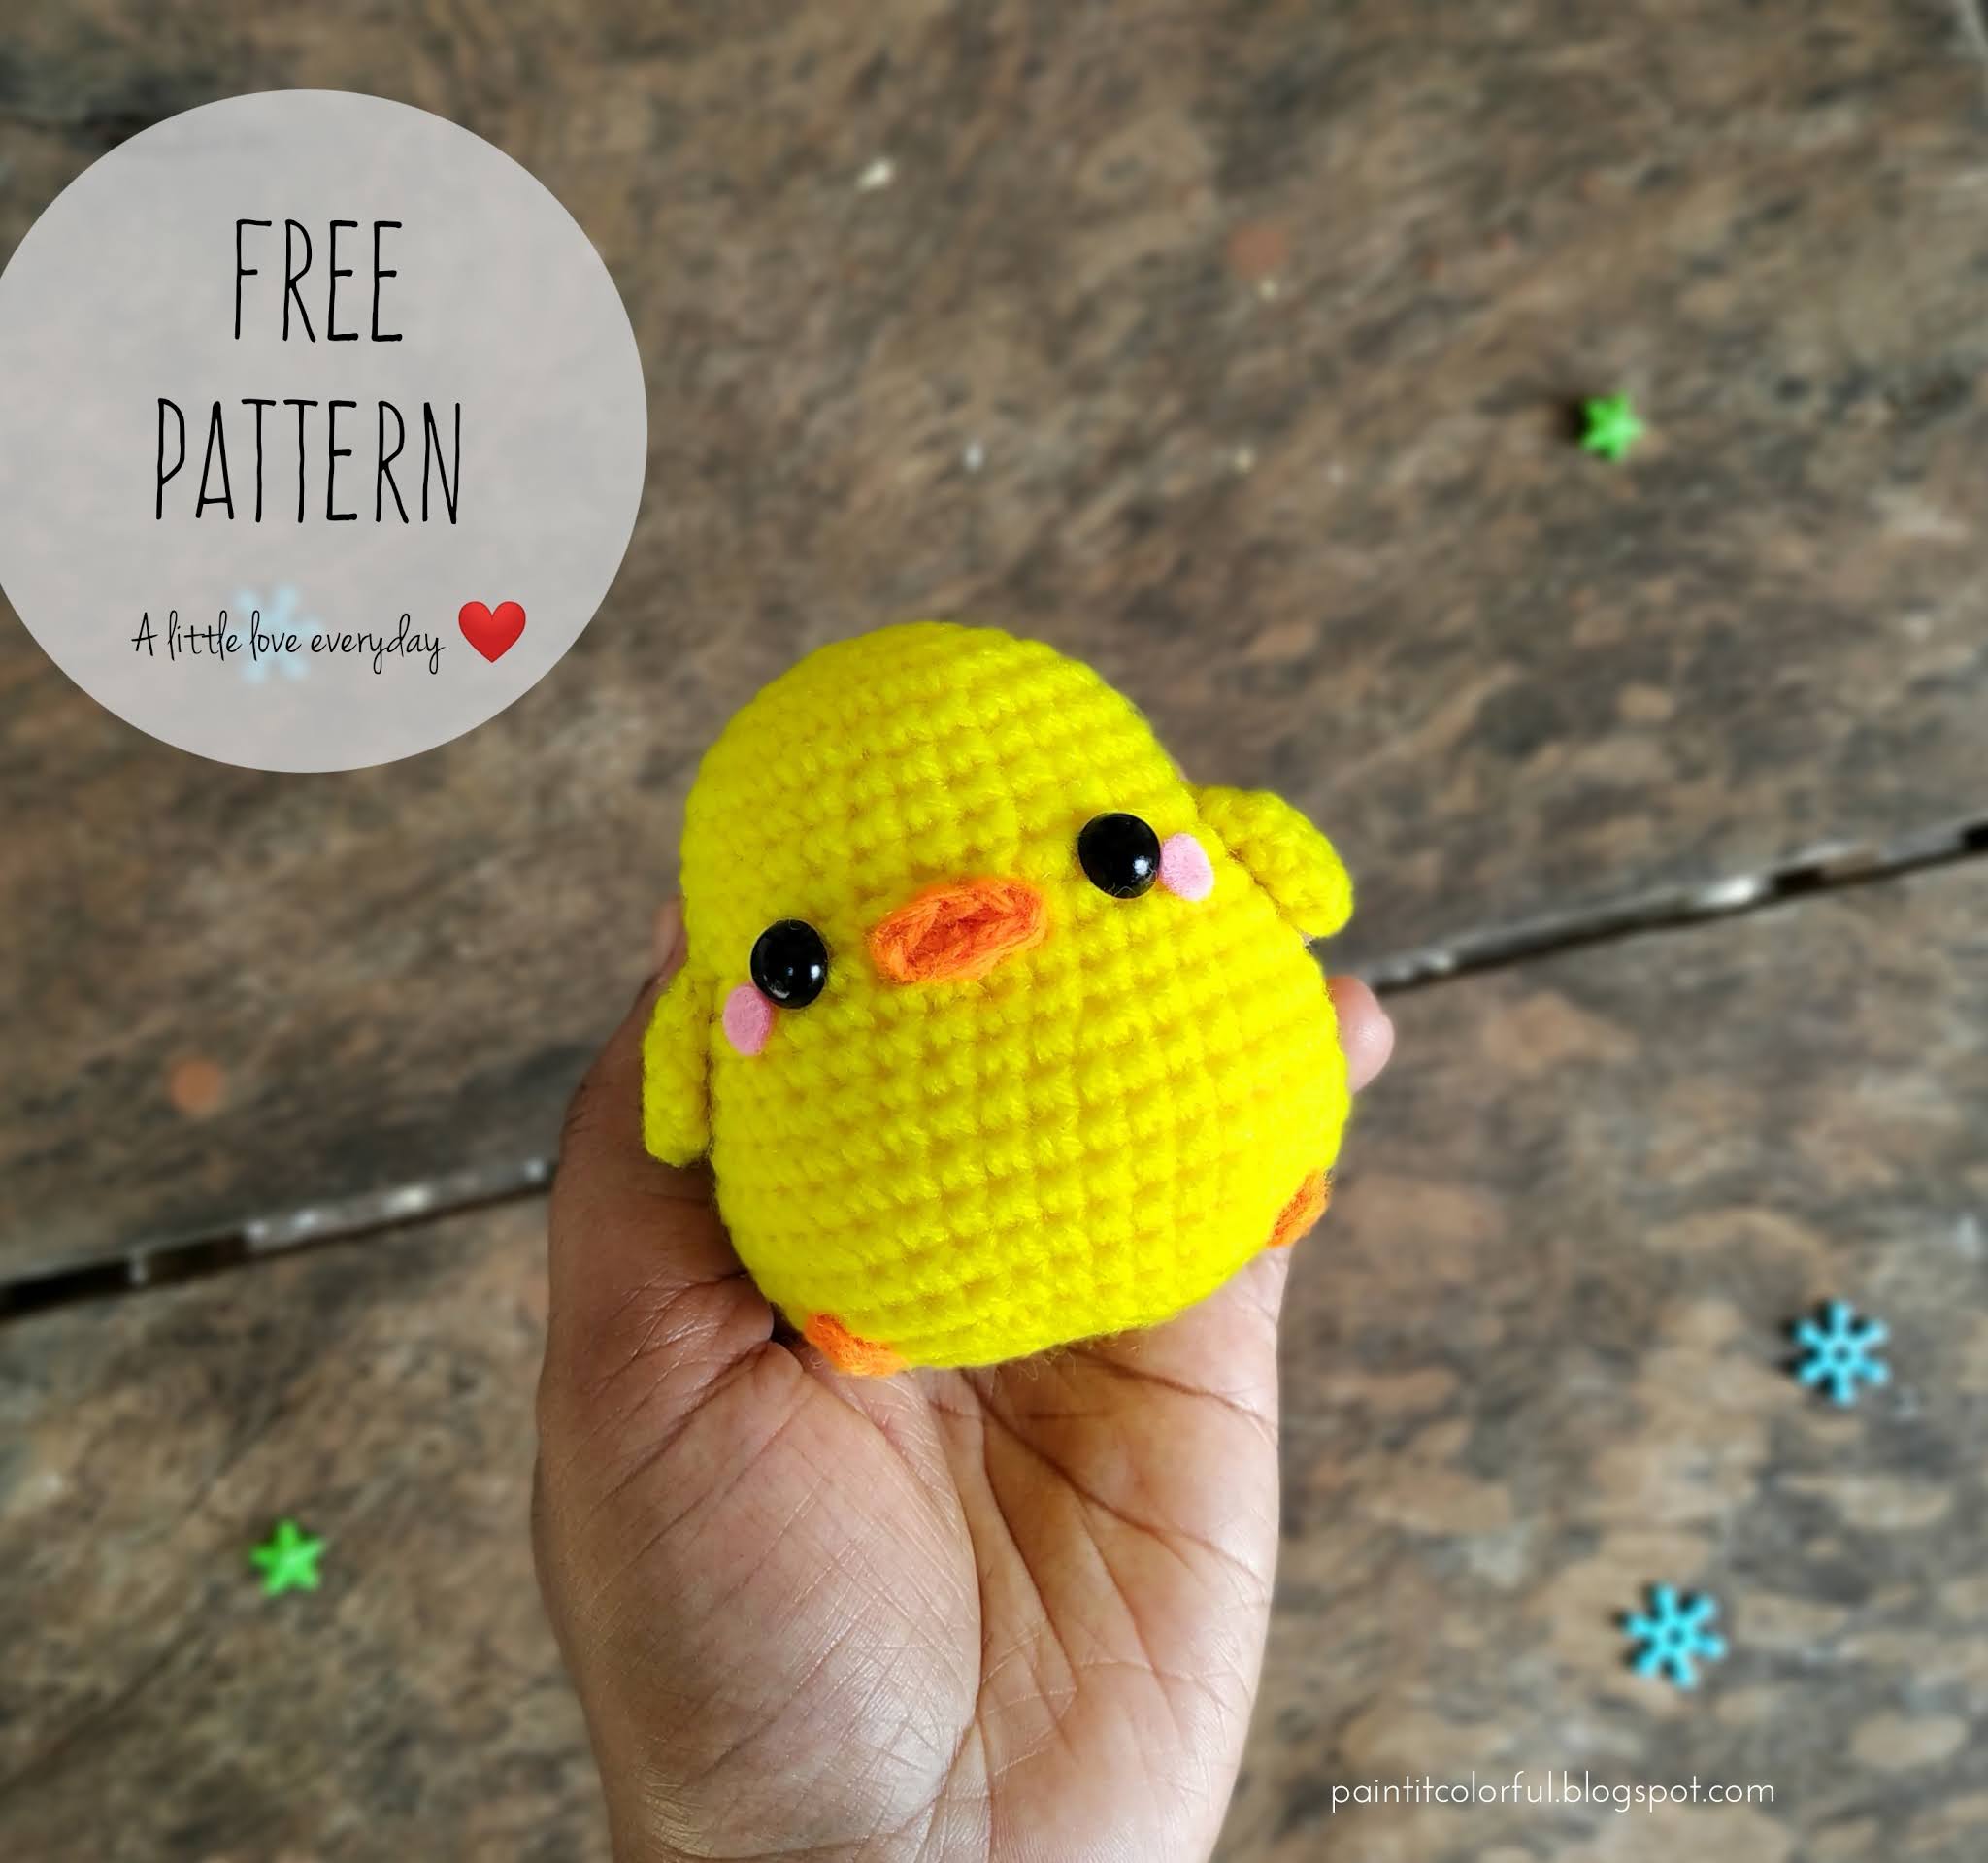
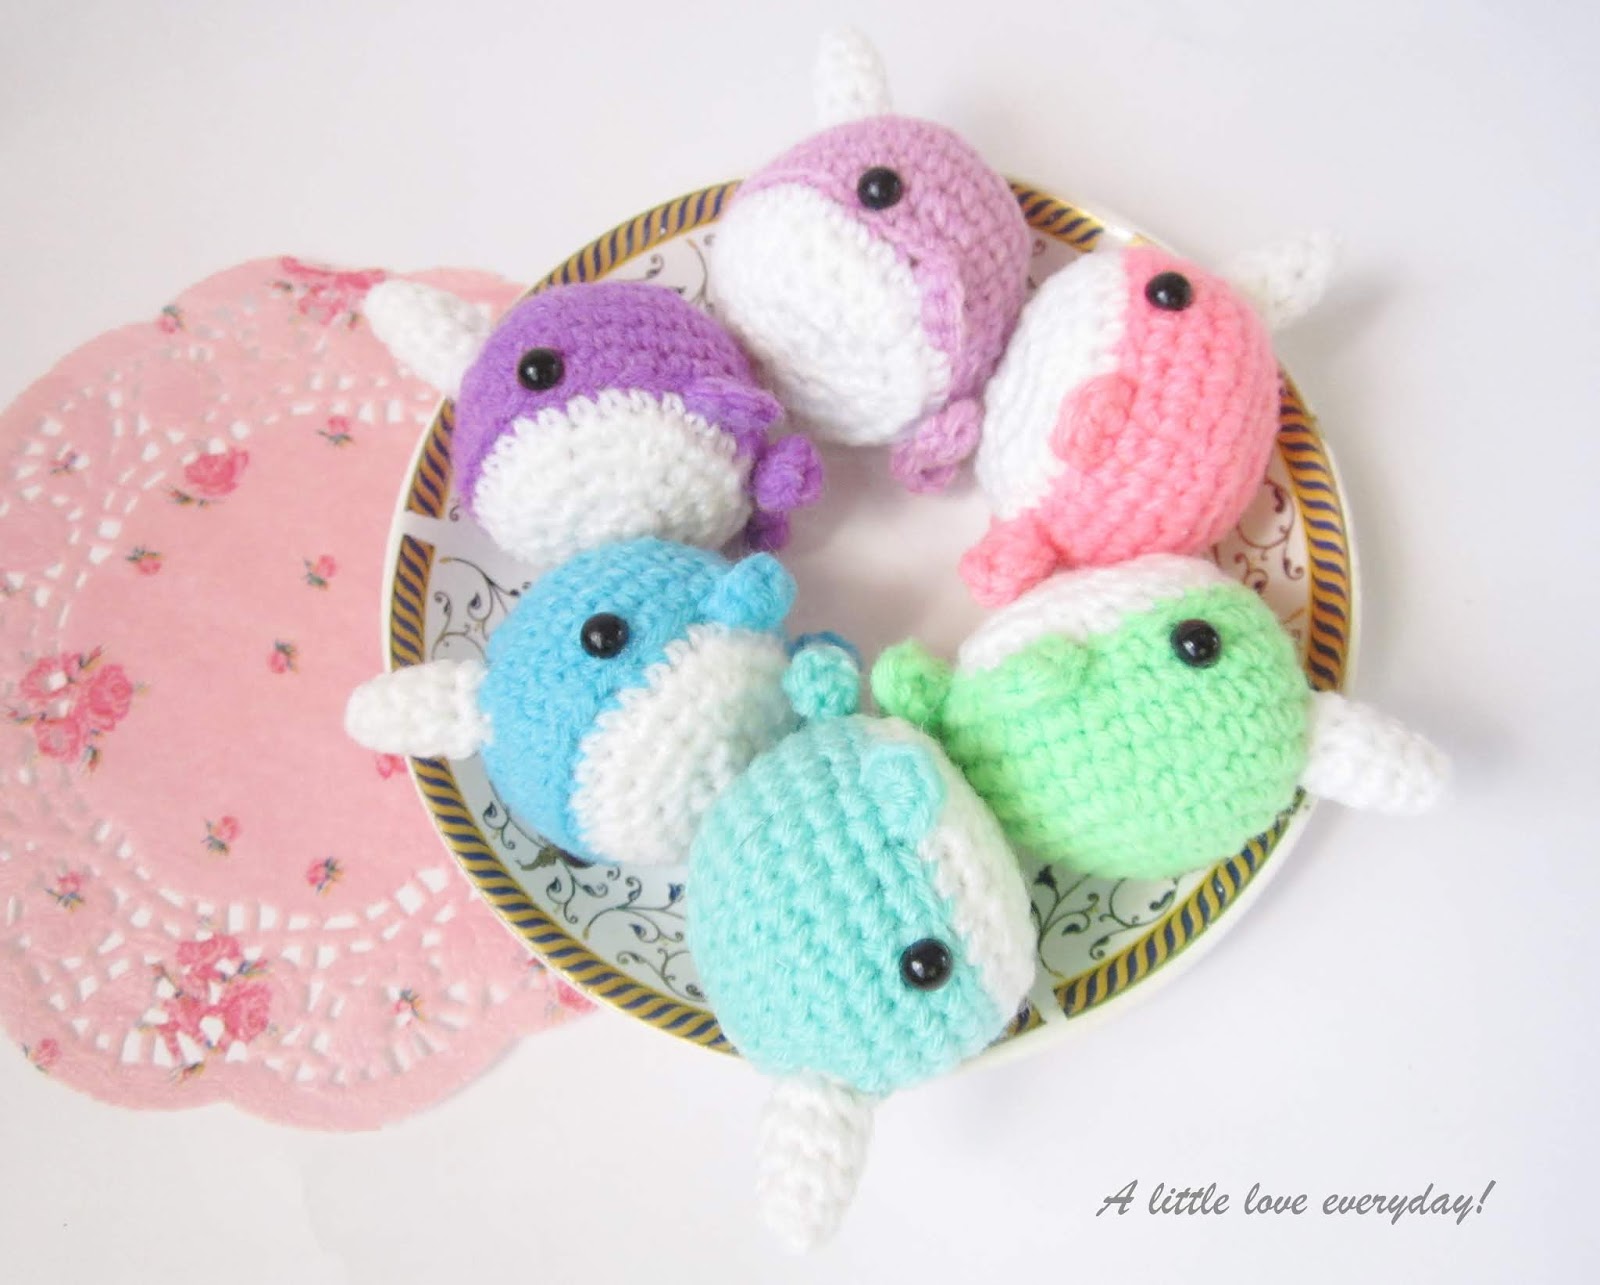
Hello all! as promised i'm here with a free amigurumi pattern for Narwhals. They are tiny, cute and very easy to make. You can skip the tusk and you'll get a whale. Serves as a two in one pattern!!

So let's dive into the tutorial without further ado..


Materials needed:
Some acrylic yarn (in your preferred shade and white)
Crochet hook ( according to the size of your yarn)
Poly fiber fill
Tapestry needle
6 mm safety eyes or flatback black beads

The pattern is worked on continuous rounds unless stated otherwise
sc - single crochet
sl st - slip stitch
dc - double crochet
hdc - half double crochet


Pattern Instruction

Body:
with the main color yarn,
R1: 6 sc in magic ring (6)  
R2: 2sc in each st (12)
R3:  *sc in next st, 2 sc in next st* rep **(18)
R4: *sc in next 2 st, 2sc in next st*, rep ** (24) 
R5: *sc in next 3 st, 2sc in next st*, rep ** (30)
R6-9: sc around (30)
switch to white color
R10: in back loops only, sc around (30)
R11: *sc in next 3 st, dec 1*, rep ** (24)
R12: *sc in next 2 st, dec 1*, rep ** (18)
attach safety eyes between row 9 and 10 at this point
R13: *sc in next st, dec 1*, rep ** (12)
stuff firmly,
R14: dec 6 times (6)

Fins (make 2):
4 sc in magic ring


Tail:
chain 5, *dc in 3rd chain from hook, half double crochet in next chain and sl st in the last chain space*,  continue again with chain 5 and rep **

Tusk:
R1: 5sc in magic ring (5)
R2: sc in next 4 st, 2sc in last st (6)
R3: sc in next 5 st, 2sc in last st (7)
R4-6: sc around (7)

Assembling:
Attach tail to the Narwhal's body. I attach them where the color change happens.
Add in fins on either side of Narwhal with 2 or 3 stitches away from eyes.
Finally add in the tusk at row 5 or 6 from top. Attach them at the centre.

You can make this little Narwhal in a few hours and they make lovely key chain or bag charms.
If you wish, you can buy them from my Etsy shop too :)


Hope you like the pattern. I would love to see your works too. Tag your makes to my instagram profile and i'll feature them in my stories :) Happy crafting!

Update cookies preferences