Pumpkin season is officially here! I always relate October with pumpkins and cozy weather. Being from a tropical region, we don't get to witness much of autumn in it's full glory. But we do enjoy the slight drop in temperature which is very hot and humid otherwise. Here's a cute little Pumkitty pie pattern for you guys to make this season more delightful.
Showing posts with label crochet/amigurumi patterns. Show all posts
Amigurumi bunny free pattern
March 27, 2019
Bunnies are so cute, fluffy and reminds me of Spring time and Easter. With Spring upon us and Easter less than a month away, it's the perfect time to make this cute little Amigurumi Bunny :) Hope you will enjoy making this Bunny as much as i did. Read below for instructions.
Materials needed:
ch - chain
sc - single crochet
st - stitch
sl st - slip stitch
Legs and body:
R1: 6 sc in magic ring (6)
Materials needed:
- Acrylic yarn in pink color ( i have used 4ply/ sport weight acrylic yarn and 2mm crochet hook)
- Little bit of green yarn for the bow
- Crochet hook (according to the size of your yarn)
- Poly fiber fill
- Tapestry needle
- 5 mm safety eyes or flat back black beads for eyes
- Black embroidery thread
ch - chain
sc - single crochet
st - stitch
sl st - slip stitch
dc - double crochet
trc - treble crochet
dec - sc 2 together
rep ** - repeat stitches between **
Head:
Using pink color yarn,
R1: 6 sc in magic ring (6)
R2: 2sc in each st (12)
R3: *sc in next st, 2 sc in next st*, rep **(18)
R4: *sc in next 2 st, 2sc in next st*, rep ** (24)
R5: *sc in next 3 st, 2sc in next st*, rep ** (30)
R6: *sc in next 4 st, 2sc in next st*, rep ** (36)
R7-11: sc in each stitch (36)
R12: *sc in next 4 st, 1 dec in next st*, rep ** (30)
R13: *sc in next 3 st, 1 dec in next st*, rep** (24)
R14: *sc in next 2 st, 1 dec in next st*, rep** (18)
R15: *sc in next st, 1 dec in next st*, rep** (12)
Stuff firmly and Fasten off leaving a tail for sewing
If using safety eyes, insert them between R10 and R11 with 6 sts in between.
Ears: (Make 2)
R1: 6 sc in magic ring (6)
R2: 2sc in each st (12)
R3: *sc in next st, 2 sc in next*, rep** (18)
R4: *sc in next st, dec 1 in next st*, rep** (12)
R5: sc around (12)
R6: sc in next 2 st, dec 1 in nxt st*, rep** (9)
R7-8: sc in each st (9)
R4: *sc in next st, dec 1 in next st*, rep** (12)
R5: sc around (12)
R6: sc in next 2 st, dec 1 in nxt st*, rep** (9)
R7-8: sc in each st (9)
Fasten off, leaving a tail for sewing.
Arms: (Make 2)
R1: 6 sc in magic ring (6)
R2-7: sc around (6)
Fasten off leaving a tail for sewing.
Legs and body:
R1: 6 sc in magic ring (6)
R2: *sc in next 2 st, 2sc in next*, rep ** (8)
R3-4: sc in each st (8)
Fasten off the first leg.
Make another leg in the same way but do not cut off the yarn and chain 4, join it to the first leg.
R5: sc around the 8 sts of first leg, sc in next 4 ch, sc in next 8 sts of second leg and sc in next 4 ch (24)
R6-11: sc around (24)
Stuff the legs and the body as you go.
R12: *sc in next 6 st, dec 1 in next st*, rep ** (21)
R13: *sc in next 5 st, dec 1 in next st*, rep ** (18)
R14: *sc in next 4 st, dec 1 in next st*, rep ** (15)
R15: *sc in next 3 st, dec 1 in next st*, rep** (12)
Finish stuffing and fasten off leaving a tail for sewing.
Bow:
In Magic ring, *ch 3,dc,trc,dc, ch 3, slip stitch into the ring*, rep **
Bow:
In Magic ring, *ch 3,dc,trc,dc, ch 3, slip stitch into the ring*, rep **
Assembling:
Attach the body to the head.
Attach ears on the head ( i have attached both ears at the side and nearby for a cute look)
Attach the arms to the body.
Sew on the bow to the head.
And your little Bunny is ready!
Make them and gift it to your loved ones this Easter. Have a great day everyone :)
Sew on the bow to the head.
And your little Bunny is ready!
Make them and gift it to your loved ones this Easter. Have a great day everyone :)
Spring Turtle
February 17, 2018
"If winter comes, can spring be far behind?"
I know it's still winter in most part of the world but it's never too early to be prepared for welcoming the spring right?? I've been wanting to make sea turtles for a while and added flowers on the top for a unique look. So here i am with a free pattern for Spring Turtle. The colorful flowers on them reminds me of spring and hence the name. Read below for instructions on how to make them.
> Acrylic yarn.
> Crochet hook according to the size of your yarn
> Black beads or safety eyes
> Poly fibre fill
This project is worked in continuous rounds unless stated otherwise
sc -single crochetst- stitch
sl st - slip stitch
hdc - half double crochet
dc - double crochet
inc - 2 sc in same st
sc dec - sc 2 together
Head
R1: 6 sc in magic ring (6)
R2: 2sc in each st (12)
R3: *sc in next st, 2 sc in next st* rep **(18)
R4: *sc in next 2 st, 2sc in next st*, rep ** (24)
R5-7 : sc in each st (24)
R8: *sc in next 2 st, dec1*, rep ** (18)
R9: *sc in next st, dec 1*, rep ** (12)
Stuff and fasten off leaving a long tail for sewing
Shell:
R1: 6 sc in magic ring (6)
R2: 2sc in each st (12)
R3: *sc in next st, 2 sc in next st* rep **(18)
R4: *sc in next 2 st, 2sc in next st*, rep ** (24)
R5: *sc in next 3 st, 2sc in next st*, rep ** (30)
R6: *sc in next 4 st, 2sc in next st* rep ** (36)
R7: *sc in next 5 st, 2 sc in next st* rep ** (42)
R8: sc in each stitch (42)
R9: *sc in next 5 st, dec 1 in next st* rep ** (36)
R10: sc in each stitch (36)
Switch to head color
R11: (back loops only) sc in each st (36)
R12: *sc in next 4 st, dec 1 in next st* rep ** (30)
R13: *sc in next 3 st, 1 dec in next st* rep** (24)
R14: *sc in next 2 st, 1 dec in next st* rep** (18)
R15: *sc in next st, 1 dec in next st* rep** (12)
Stuff firmly
R16: dec 6 times (6)
Fasten off leaving a tail for sewing
Front Flippers ( make 2)
R1: 6 sc in magic ring (6)
R2: 2sc in each st (12)
R3: *sc in next st, 2 sc in next st* rep **(18)
R4: *sc in next 2 st, 2sc in next st*, rep ** (24)
Fold it into half and sew the parts together. You will get two pieces of half circles
Back Flippers (make 2)
R1: 6 sc in magic ring (6)
R2: 2sc in each st (12)
R3: *sc in next st, 2 sc in next st* rep **(18)
Fold it into half and sew the parts together. You will get two pieces of half circles smaller than the fore legs
Flowers:
(blue)
6 sc in magic ring
*sc in next 2 st, sc inc in next* (8)
switch color
for the petals, *ch 7 and hdc in 3rd chain from hook, hdc in next 2 chain, sc in the next 2 chain, join with sl st in same space* and repeat ** in the same space once again and sl st to next sc space.
Repeat ** for other sc space as well. we'll get a total of 12 petals having 2 in each stitch.
pattern for the yellow flower can be found here
Leaf:
ch 7, sl st in 2nd chain from hook, sc in next, hdc in next 2 st, dc in next, 5 dc in next, dc in next, hdc in next 2 st, sc in next and sl st in the last chain.
Attach head piece to the side of turle shell.
Attach legs as shown above
Attach the flower and leaf to the shell top.
Sew in eyes
Hope you like the pattern. Have a cheerful day!
Amigurumi Gudetama free pattern
September 10, 2017
Hello lovelies! Hope you all are doing good. Last month i was busy setting up my new Etsy shop and hence very little time for blogging. One of the most favorited item in my shop is Gudetama amigurumi. Gudetama is a lazy, depressed egg and one of sanrio character. Although it is not as cute as hello kitty, i think most of us can relate to Gudetama and that's the special charm about it.
Making this kawaii little character is not so difficult and even beginners can wing it. Here's a pattern on how to make a gudetama amigurumi
Materials needed:
Acrylic yarn in yellow and white color
Crochet Hook according to the size of your yarn
Little felt for eyes and mouth
Tapestry needle
Black embroidery thread
This project is worked in continuous rounds unless stated otherwise
sc -single crochet
hdc - half double crochet
dc - double crochet
st- stitch
dec- one single crochet decrease
sl st - slip stitch
Head and body
R1: 7 sc in magic ring (7)
R2: 2sc in each st (14)
R3: *sc in next st, 2sc in next st* rep **(21)
R4: *sc in next 2 st, 2sc in next st*, rep ** (28)
R5-17: sc in each stitch (28)
R18: *sc in next 2 st, dec 1 in next st*, rep **(21)
R19: *sc in next st, dec 1 in next st*, rep** (14)
stuff firmly
R20: dec 7 times (7)
Fasten off leaving a long tail for sewing.
Arms: (make 2)
R1: 6sc in magic ring (6)
R2- 4: sc in each stitch (6)
Legs:
R1: 6 sc in magic ring (6)
R2: *sc in next st, 2 sc in next* rep ** 3 times (9)
R3-R4: sc in each st (9)
R1: 6sc in magic ring (6)
R2- 4: sc in each stitch (6)
Legs:
R1: 6 sc in magic ring (6)
R2: *sc in next st, 2 sc in next* rep ** 3 times (9)
R3-R4: sc in each st (9)
Egg white part:
R1: 6 sc in magic ring (6)
R2: 2 sc in each st (12)
R3: 2 sc in each st (24)
R4:* sc in next st, 2 sc in next* rep ** (36)
R5: *sc in next 5 st, 2 sc in next st* rep ** (42)
R6: sc in each st (42)
R7: *hdc in next st, dc in next 5 sts , hdc in next , sc in next, hdc in next, dc in next 3 st, hdc in next, sc in next * rep ** 2 more times (42)
Assembling:
Attach arms and legs to the body
Cut 3 pieces of smal oval shaped black felt (2 for eyes and one for mouth)
Cut a pieces of small oval shaped white felt (a little bit smaller than the black felt for the mouth and glue to it.
Glue the eyes and mouth to the gudetama using fabric glue.
Hope you guys enjoy making this cute lazy egg. Happy crafting!
Unicorn macaron amigurumi pattern
August 22, 2017
Embrace your uniqueness, believe in miracles and sparkle from within..Unicorns are the first thing that comes to my mind when i read this quote. Unicorn fever is catching up all over the world and doesn't look like it will fade anytime soon. So today I've come up with a pattern on how to make Unicorn macaron amigurumi. Let's head on to the pattern..
Materials needed:
- Acrylic yarn in white, pink,blue and violet and light brown colors
- Crochet hook according to the size of your yarn
- Embroidery thread in black
- Felt in black color for the eyes (optional)
This project is worked in continuous rounds unless stated otherwise
sc -single crochetst- stitchsl st - slip stitch
R1: 6 sc in magic ring (6)
R2: 2sc in each st (12)
R3: *sc in next st, 2 sc in next st* rep **(18)
R4: *sc in next 2 st, 2sc in next st*, rep ** (24)
R5: *sc in next 3 st, 2sc in next st*, rep ** (30)
R6: *sc in next 4 st, 2sc in next st* rep ** (36)
R7: sc in each st (36)
Switch to blue or pink color
R8: working in back loops only, sc in each stitch (36)
Sew the roses on the head and embroider the eyes and mouth before joining both the pieces
Edit:
I have made a little changes to Roses and Horn. Hope it'll help you make Macaron with better results.
For rose: (make 3)
Using pink yarn,
Chain 16,
Slip stitch in second chain from hook and slip stitch in all the remaining chains.
Roll from one end to other like we do for deco rose and stitch them in place when you are satisfied with the arrangement.
Make roses similar to the above using blue and violet color yarns.
For ears: (make 2 )
R1: 4 sc in magic ring (4)
R2: *sc in first st, 2sc in next st* rep ** once (6)
R3: *sc in first st, 2 sc in next st* rep ** twice (9)
R4: sc in each stitch (9)
Horn (make 1)
R1: 4 sc in magic ring (4)
R2: *sc in first 3 st, 2 sc in next st (5)
R3: sc in first 4 st, 2 sc in next st (6)
R4: sc in first 5 st, 2 sc in next st (7)
R5: sc in first 6st, 2 sc in next st (8)
R6: sc in first 7 st, 2sc in next st (9)
Joining:
For joining the macarons, with blue or pink yarn (that you've chosen for the filling) slip stitch in the back loop of the top macaron filling part (blue here) with the front loop of the bottom half of the macaron filling, start stuffing with poly fibre fill when you're three fourth done closing the macaron and continue stuffing a little till the end.
Assembling:
Attach horns and ears to the finished macarons and you can also add black felt pieces cut in small rounds for the eyes.

May you have a magical and sweet day by making these cute little unicorn macarons..
Hello Kittty amigurumi pattern
May 10, 2017
I'm a big fan of kawaii characters in general and Hello kitty comes on top as one of my favorites. I really wanted to create a mini amigurumi version of hello kitty and happy with the way it turned out. Here's the pattern to amigurumi hello kitty if you guys like to make one too.
Materials needed:
Acrylic yarn
Crochet hook according to the size of your yarn
Little piece of black felt (for eyes) and yellow felt (for mouth)
Black embroidery floss
Tapestry needle
Instructions:
This project is worked in continuous rounds unless stated otherwise
sc -single crochet
st- stitch
dec- one single crochet decrease
sl st - slip stitch
Head and body:
R1: 6 sc in magic ring (6)
R2: 2sc in each st (12)
R3: *sc in next st, 2 sc in next st* rep **(18)
R4: *sc in next 2 st, 2sc in next st*, rep ** (24)
R5: *sc in next 3 st, 2sc in next st*, rep ** (30)
R6-10: sc in each stitch (30)
R11: *sc in next 3 st, dec 1 in next st*, rep **(24)
R12: *sc in next 2 st, dec 1 in next st*, rep **(18)
R13: *sc in next st, dec 1 in next st*, rep **(12)
stuff the head firmly with fiberfill and switch to pink color
R14: sc in each stitch (12)
R15: *sc in next st, 2 sc in next st* rep **(18)
R16: *sc in next 2 st, 2sc in next st*, rep ** (24)
switch to dark pink color
R17-19: sc in each stitch (24)
R20: *sc in next 2 st, dec 1 in next st* rep ** (18)
R21: *sc in next st, dec 1 in next st*, rep ** (12)
stuff firmly
R22: sc dec in each st (6) Fasten off.
Optional: surface crochet with slip stitch at R17 with dark pink color for a neat finish.
The tutorial on how to surface stitch is available here
With dark color pink chain 8 or the desired length leaving a long tail for sewing on both ends to the trousers at R17.
with white color yarn,
R1: 8sc in magic ring (8)
R2-3: sc in each stitch (8)
fasten off and leave a tail for sewing
Hands: (Make 2)
with white color yarn
R1: 6sc in magic ring (6)
R2-3: sc in each stitch (6)
Switch to pink color
R4-5: sc in each stitch (6)
Fasten off leaving a long tail for sewing.
Ears: (Make 2)
R1: 6sc in mc
R2: *sc in next st, 2 sc in next st* rep (9)
R3: *sc in next 2 st, 2 sc in next st* rep (12)
Fasten off leaving a long tail for sewing.
Hairbow:
In a magic ring, ch 1,hdc,dc,trc,dc,hdc,ch 1, slipstitch and again sc,hdc,dc,trc.dc.hdc,sc and close the ring. Wind the yarn around the bow three or four times and attach it to the head
Assembling:
Attach the ears to the head and attach hands and legs to the body.
With tapestry needle sew the dress strap to the bottoms at Row 17.
Attach the bow at the head.
Use small pieces of black felt for eyes and a small yellow piece for nose. You can also embroider the eyes.
Finally embroider whiskers using black embroidery floss.
Now your hello kitty is ready! Hope you guys like this pattern and enjoy making them as much as i did.
valentine birds amigurumi pattern
February 2, 2017
Hello lovely people! February has began and the first thing that comes to mind about February is valentine's day. Giving a handmade present to your loved ones on this occasion is more apt and cherished than buying gifts from outside. So why not make these little birdies to express your love. Here's the pattern on how to make valentine's birds.
Materials needed:
Acrylic yarn in light and dark pink
Crochet hook according to the size of your yarn
Safety eyes or beads for eyes
Tapestry needle
A little yellow felt for beak
Poly fibrefill for stuffing
This project is worked in continuous rounds unless stated otherwise
sc -single crochetst- stitchdec- one single crochet decreasesl st - slip stitchdc - double crochet
tr - treble crochet
Instructions:
Head and body:
R1: 7 sc in magic ring (7)
R2: 2sc in each st (14)
R3: *sc in next st, 2 sc in next st* rep **(21)
R4: *sc in next 2 st, 2sc in next st*, rep ** (28)
R5-R12: sc in each stitch (28)
R13: *sc in next 2 st, dec 1 in next st*, rep **(21)
R14: *sc in next st, dec 1 in next st*, rep **(14)
stuff firmly with poly fiber fill
R15: sc dec in each stitch (7)
Fasten off
Wings/Hands and legs (make 4)
In magic ring, chain 2, 4dc, chain 2 and sl st into the magic ring and close it.
Fasten off leaving a long tail for sewing.
Heart:
In magic ring ch 4, 3 tr, 3 dc, ch 1, 1 tr, 3 dc, ch 3 and join with the sl st into the ring and close it tight.
Fasten off leaving a long tail for sewing.
Bow (for female birdie)
In magic ring, ch 1, dc,ch 1 and sl st into the ring and again ch 1, dc, ch 1 and sl st into the ring and close it. wrap some yarn around the centre and leave a long tail for sewing
Hat (for male bird)
7 sc in magic ring (7)
2 sc in each st (14)
working on backloops only,
sc in each stitch (14)
fasten off leaving a tail for sewing.
Assembling:
Attach the heart in the centre of the bird. Stitch wings/hands of the bird as if it's holding the heart
Attach legs at the bottom. and bow/hat at side of the head.
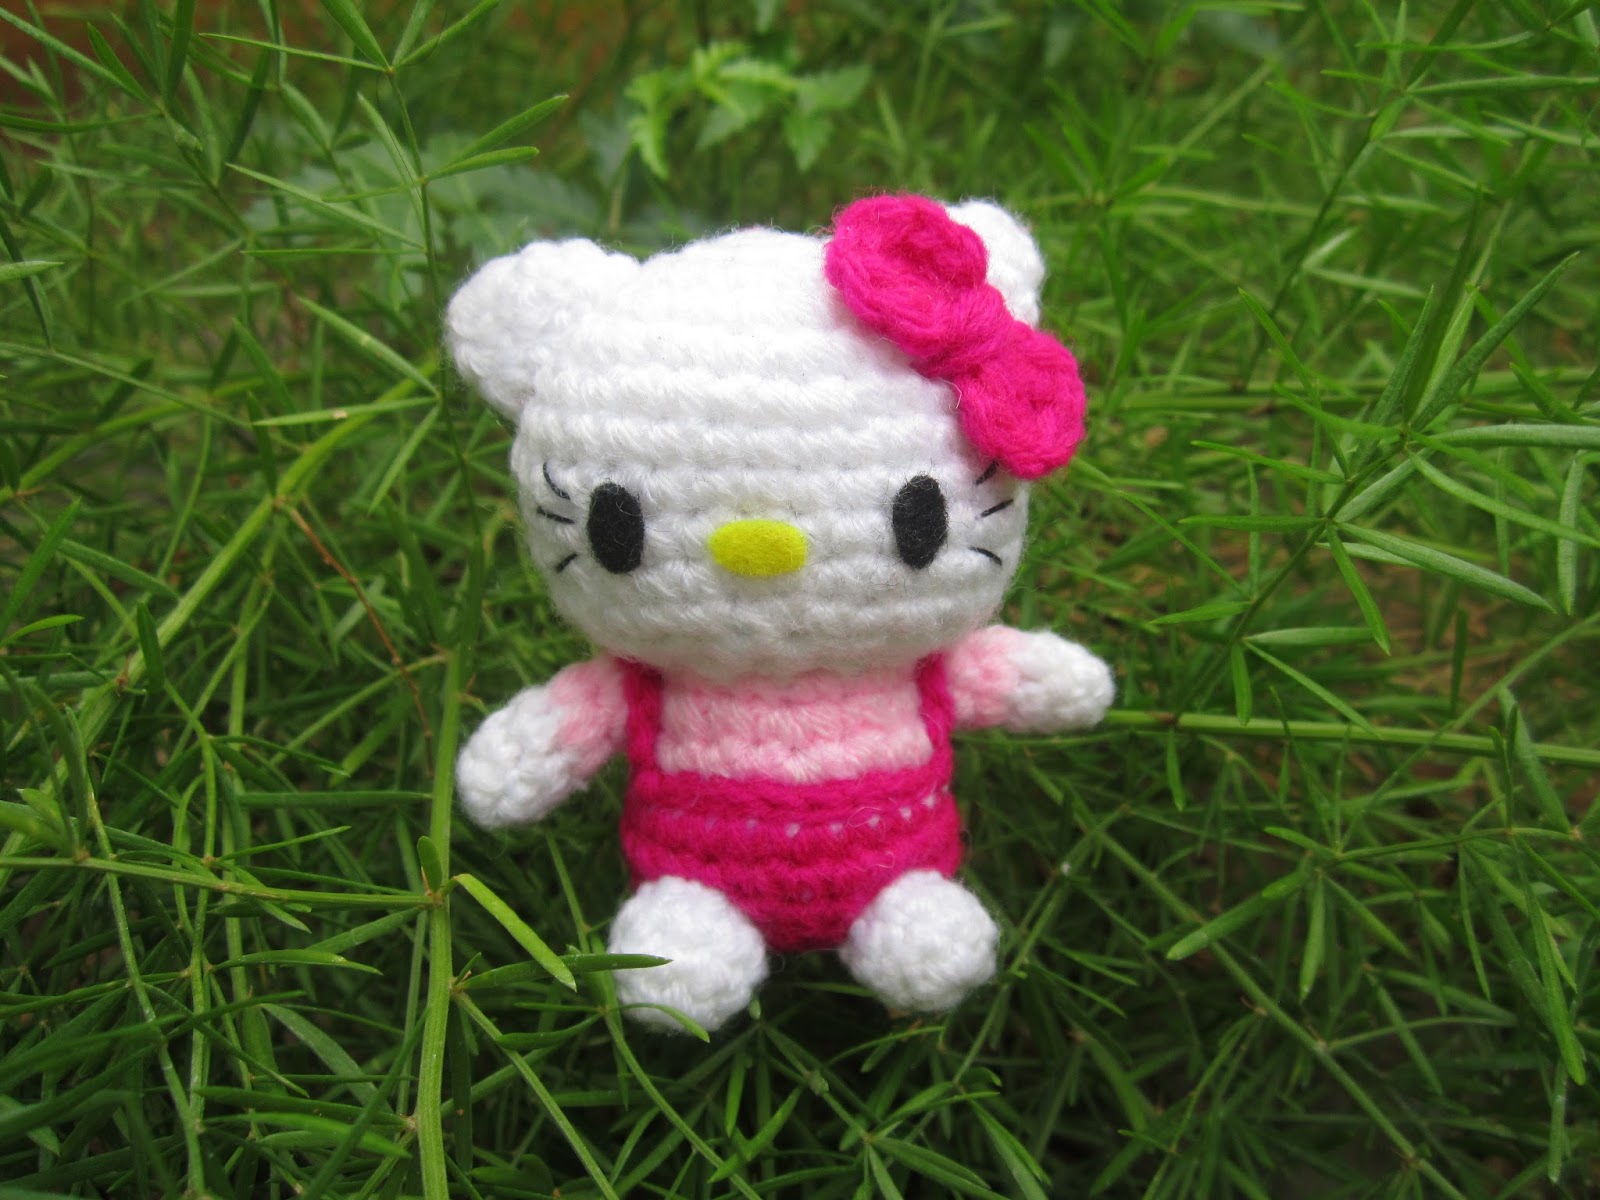
Place two black beads for eyes. Embroider a little lashes for female bird.
Cut a small over shape yellow felt and paste it for beak.
Hope you guys like the pattern. Wishing you all a fantastic february! Cheers:)
Molang Bunny free pattern
December 18, 2016
It's the most wonderful time of the year..!!
December will always remain as my favorite month of the year. It's the season of joy and celebration. Christmas is all about sharing and spending time with your loved ones. It is also the time to show your love by giving presents to ones that truly matters. Here is a little Christmas Molang bunny pattern for you guys as a little Christmas present from me.
Materials needed:
Acrylic yarn
in white, red and green color
Crochet hook according to the size of your yarn
Black beads for eyesAcrylic yarn
Crochet hook according to the size of your yarn
Embroidery floss for mouth
Tapestry needle
This project is worked in continuous rounds unless stated otherwise
sc -single crochet
st- stitch
dec- one single crochet decrease
sl st - slip stitch
hdc - half double crochet
Head and body:
R1: 7 sc in magic ring (7)
R2: 2sc in each st (14)
R3: *sc in next st, 2 sc in next st* rep **(21)
R4: *sc in next 2 st, 2sc in next st*, rep ** (28)
R5-9:: sc in each stitch (28)
Switch to red color
R10-13: sc in each stitch (28)
Switch to white color
R14: sc in each stitch (28)
R15: *sc in next 2 st, dec 1 in next st*, rep **(21)
R16: *sc in next st, dec 1 in next st*, rep ** (14)
stuff firmly
R17: sc dec in each st (7)Fasten off.
Hands: (make 2)
with white color yarn
R1: 5sc in magic ring (5)
R2: sc in each stitch (5)
switch to red color
R3: sc in each stitch (5)
Legs: (make 2)
with white color yarn
R1: 5sc in magic ring (5)
R2-3: sc in each stitch (5)
Ears (Make 2)
R1: 6 sc in magic ring (6)
R2-4: sc in each stitch (6)
For shawl:
With grenn or red color yarn, ch 56.
Hdc in second chain from hook and Hdc in each of the foundation chains.
Fasten off and weave in the ends
Assembling:
Join hands, legs and ears to the body.
Add in black beads for eyes between row 7 and 8.
Embroider the mouth using black thread.
Add blush using little pink felt.
Wrap the shawl around the neck.
Your little Christmas molang is done!
You can turn this into a cute christmas ornament by adding a little string at the head.
Subscribe to:
Posts (Atom)