
Hello lovelies! Hope you all are doing good. Last month i was busy setting up my new Etsy shop and hence very little time for blogging. One of the most favorited item in my shop is Gudetama amigurumi. Gudetama is a lazy, depressed egg and one of sanrio character. Although it is not as cute as hello kitty, i think most of us can relate to Gudetama and that's the special charm about it.
Making this kawaii little character is not so difficult and even beginners can wing it. Here's a pattern on how to make a gudetama amigurumi


Materials needed:
Acrylic yarn in yellow and white color
Crochet Hook according to the size of your yarn
Little felt for eyes and mouth
Tapestry needle
Black embroidery thread
This project is worked in continuous rounds unless stated otherwise
sc -single crochet
hdc - half double crochet
dc - double crochet
st- stitch
dec- one single crochet decrease
sl st - slip stitch
Head and body
R1: 7 sc in magic ring (7)
R2: 2sc in each st (14)
R3: *sc in next st, 2sc in next st* rep **(21)
R4: *sc in next 2 st, 2sc in next st*, rep ** (28)
R5-17: sc in each stitch (28)
R18: *sc in next 2 st, dec 1 in next st*, rep **(21)
R19: *sc in next st, dec 1 in next st*, rep** (14)
stuff firmly
R20: dec 7 times (7)
Fasten off leaving a long tail for sewing.
Crochet Hook according to the size of your yarn
Little felt for eyes and mouth
Tapestry needle
Black embroidery thread
This project is worked in continuous rounds unless stated otherwise
sc -single crochet
hdc - half double crochet
dc - double crochet
st- stitch
dec- one single crochet decrease
sl st - slip stitch
Head and body
R1: 7 sc in magic ring (7)
R2: 2sc in each st (14)
R3: *sc in next st, 2sc in next st* rep **(21)
R4: *sc in next 2 st, 2sc in next st*, rep ** (28)
R5-17: sc in each stitch (28)
R18: *sc in next 2 st, dec 1 in next st*, rep **(21)
R19: *sc in next st, dec 1 in next st*, rep** (14)
stuff firmly
R20: dec 7 times (7)
Fasten off leaving a long tail for sewing.
Arms: (make 2)
R1: 6sc in magic ring (6)
R2- 4: sc in each stitch (6)
Legs:
R1: 6 sc in magic ring (6)
R2: *sc in next st, 2 sc in next* rep ** 3 times (9)
R3-R4: sc in each st (9)
R1: 6sc in magic ring (6)
R2- 4: sc in each stitch (6)
Legs:
R1: 6 sc in magic ring (6)
R2: *sc in next st, 2 sc in next* rep ** 3 times (9)
R3-R4: sc in each st (9)
Egg white part:
R1: 6 sc in magic ring (6)
R2: 2 sc in each st (12)
R3: 2 sc in each st (24)
R4:* sc in next st, 2 sc in next* rep ** (36)
R5: *sc in next 5 st, 2 sc in next st* rep ** (42)
R6: sc in each st (42)
R7: *hdc in next st, dc in next 5 sts , hdc in next , sc in next, hdc in next, dc in next 3 st, hdc in next, sc in next * rep ** 2 more times (42)

Assembling:
Attach arms and legs to the body
Cut 3 pieces of smal oval shaped black felt (2 for eyes and one for mouth)
Cut a pieces of small oval shaped white felt (a little bit smaller than the black felt for the mouth and glue to it.
Glue the eyes and mouth to the gudetama using fabric glue.

Hope you guys enjoy making this cute lazy egg. Happy crafting!
R1: 6 sc in magic ring (6)
R2: 2 sc in each st (12)
R3: 2 sc in each st (24)
R4:* sc in next st, 2 sc in next* rep ** (36)
R5: *sc in next 5 st, 2 sc in next st* rep ** (42)
R6: sc in each st (42)
R7: *hdc in next st, dc in next 5 sts , hdc in next , sc in next, hdc in next, dc in next 3 st, hdc in next, sc in next * rep ** 2 more times (42)

Assembling:
Attach arms and legs to the body
Cut 3 pieces of smal oval shaped black felt (2 for eyes and one for mouth)
Cut a pieces of small oval shaped white felt (a little bit smaller than the black felt for the mouth and glue to it.
Glue the eyes and mouth to the gudetama using fabric glue.

Hope you guys enjoy making this cute lazy egg. Happy crafting!

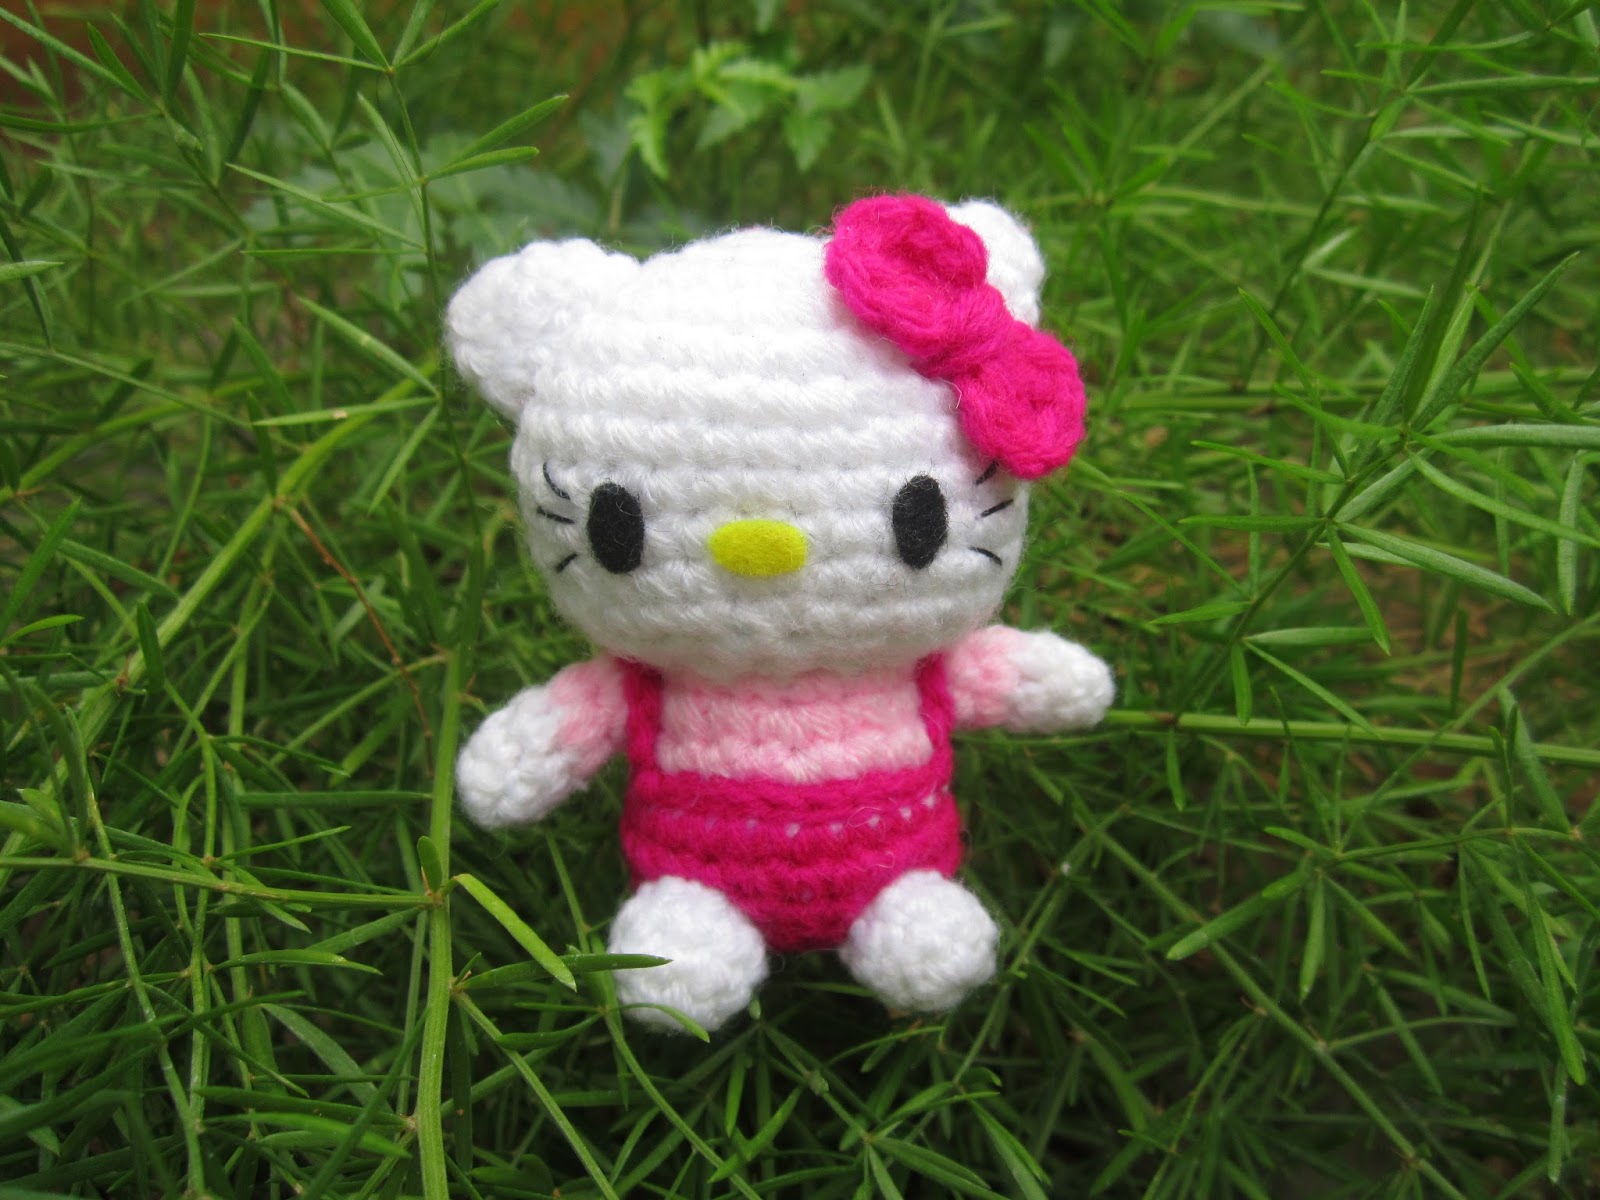
 in white, light and dark pink colors


 Posts
Posts


